Watch it instead
The same thing this page explains, shown on screen.
Timeline editing and the SFX library
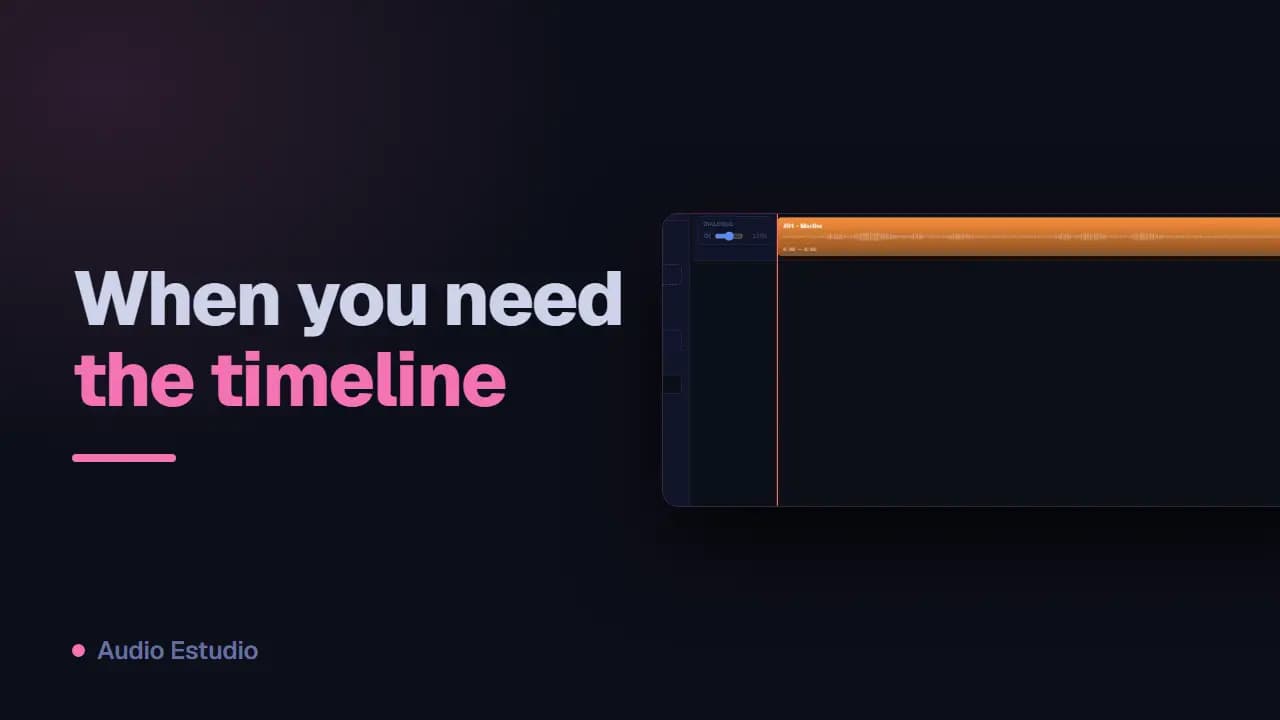
The timeline is where the episode is assembled: a multitrack view where the clips that already have audio appear in order and you can add music and effects on top. It opens with “Timeline” in the icon bar, with a project open, and the mixed master comes out of it.
Placing clips on tracks
Open a project's timeline view once its clips are generated. Clips sit on the main track in conversation order; move them to line up entrances and pauses.
Music and effects tracks
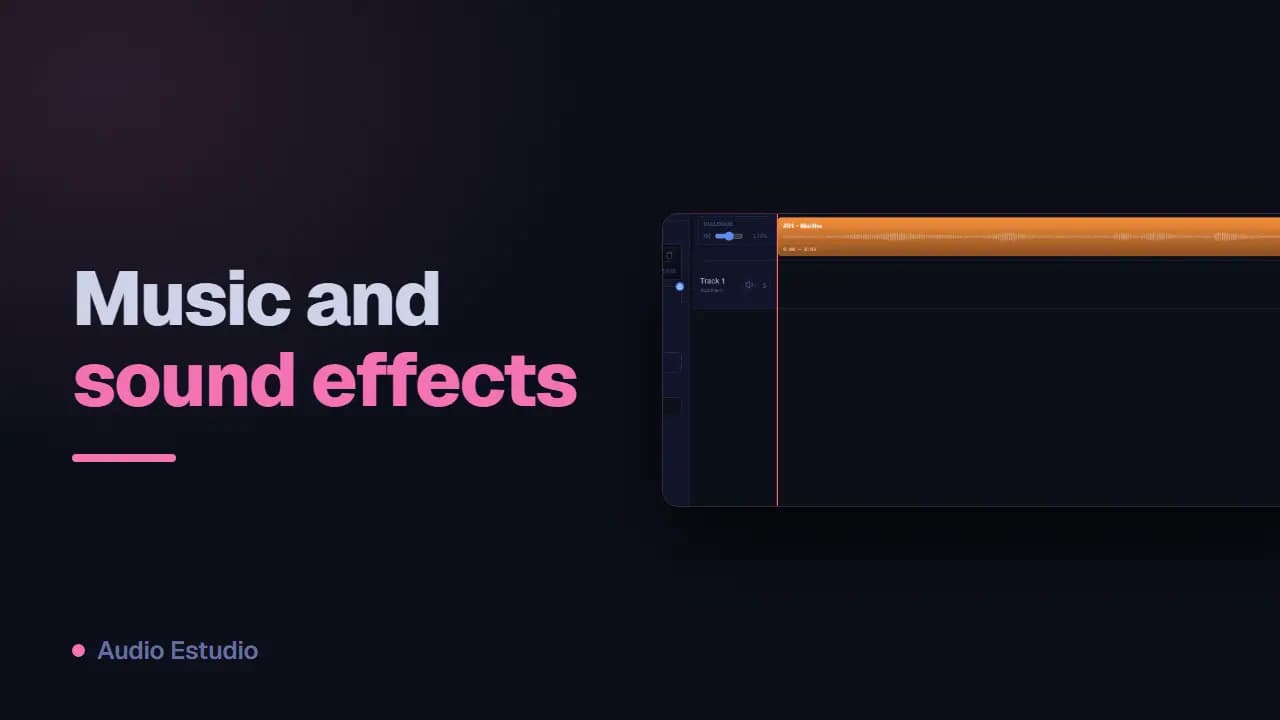
Besides the voices, you can add auxiliary tracks for background music and sound effects, layered over the dialogue clips.
Sound effects library (SFX)
The library holds 434 effects spread over 19 categories (animals, city, home, magic, medieval, sea, transitions…). The search box works in the interface language when that language is Spanish or English; in Portuguese, French, Italian and Chinese it searches over the Spanish names. Type what you are after, listen to the preview and drag the sound onto an auxiliary track.
Trimming and timing
Every block on the timeline can be trimmed at its edges and repositioned, to fine-tune entrances, overlaps and gaps between lines.
Multiple tracks
Besides the dialogue track you can add auxiliary tracks for music and effects: rename them, mute them, solo them or delete them from the sidebar.
Mixing and volume
Adjust the volume (gain) of each track and of each individual element to balance voices, music and effects.
Zoom and playback
Zoom in or out (or fit to content) and use the transport to play, stop and jump to the previous or next block.
Undo and redo
The edit supports Ctrl+Z to undo and Ctrl+Shift+Z to redo, with the last 50 steps of the project; the buttons on the bar say what is about to be undone (“Move block”, “Trim block”, “Change track volume”…). That history belongs to the session: reloading the page loses it, although the edit itself stays saved. There are no keyboard shortcuts for playback: the transport is driven with its buttons.
Silences
There is no “insert silence” button: silences are created by dragging a dialogue clip further to the right. The gap left behind is drawn on the track as a dashed rectangle and, if it is wide enough, with the “silence” label and its duration. Either way it is respected on export.
Importing external audio
Drag or import your own WAV or MP3 files into an auxiliary track to use music or effects that aren’t in the SFX library.
Exporting the mixed master
When the mix is ready, export the master with the music and effects already baked in. You can download it as WAV or MP3.
The export button is blocked
Exporting requires every clip to have audio and that audio to be up to date. If one is still pending you will see “Generate audio for every clip before exporting”; if one went out of sync, “Some clips have stale audio. Regenerate them before exporting”. Generate or regenerate whatever is missing and the button becomes active. The file comes out with the project title followed by -timeline.wav, or .mp3 if you pick that format.
The free plan generates audio with AI voices — no card, nothing to install.